Composting: Why Your Heap Stalls and How to Make It Heat
A 40-litre compost bin can stay cool even when the contents are decomposing normally; a larger heap can remain cold because a wet grass mat has sealed its centre from air. Before adding a commercial activator, check four things in order: pile size, moisture, air space, and the balance between fresh nitrogen-rich material and dry carbon-rich material. The fix is usually a physical reset, not a magic ingredient.
That distinction matters. A heap that has finished its easily decomposed food is not the same problem as a heap that never got enough oxygen to begin with. Treating both with more nitrogen can turn a quiet heap into a sour, ammonia-smelling one.
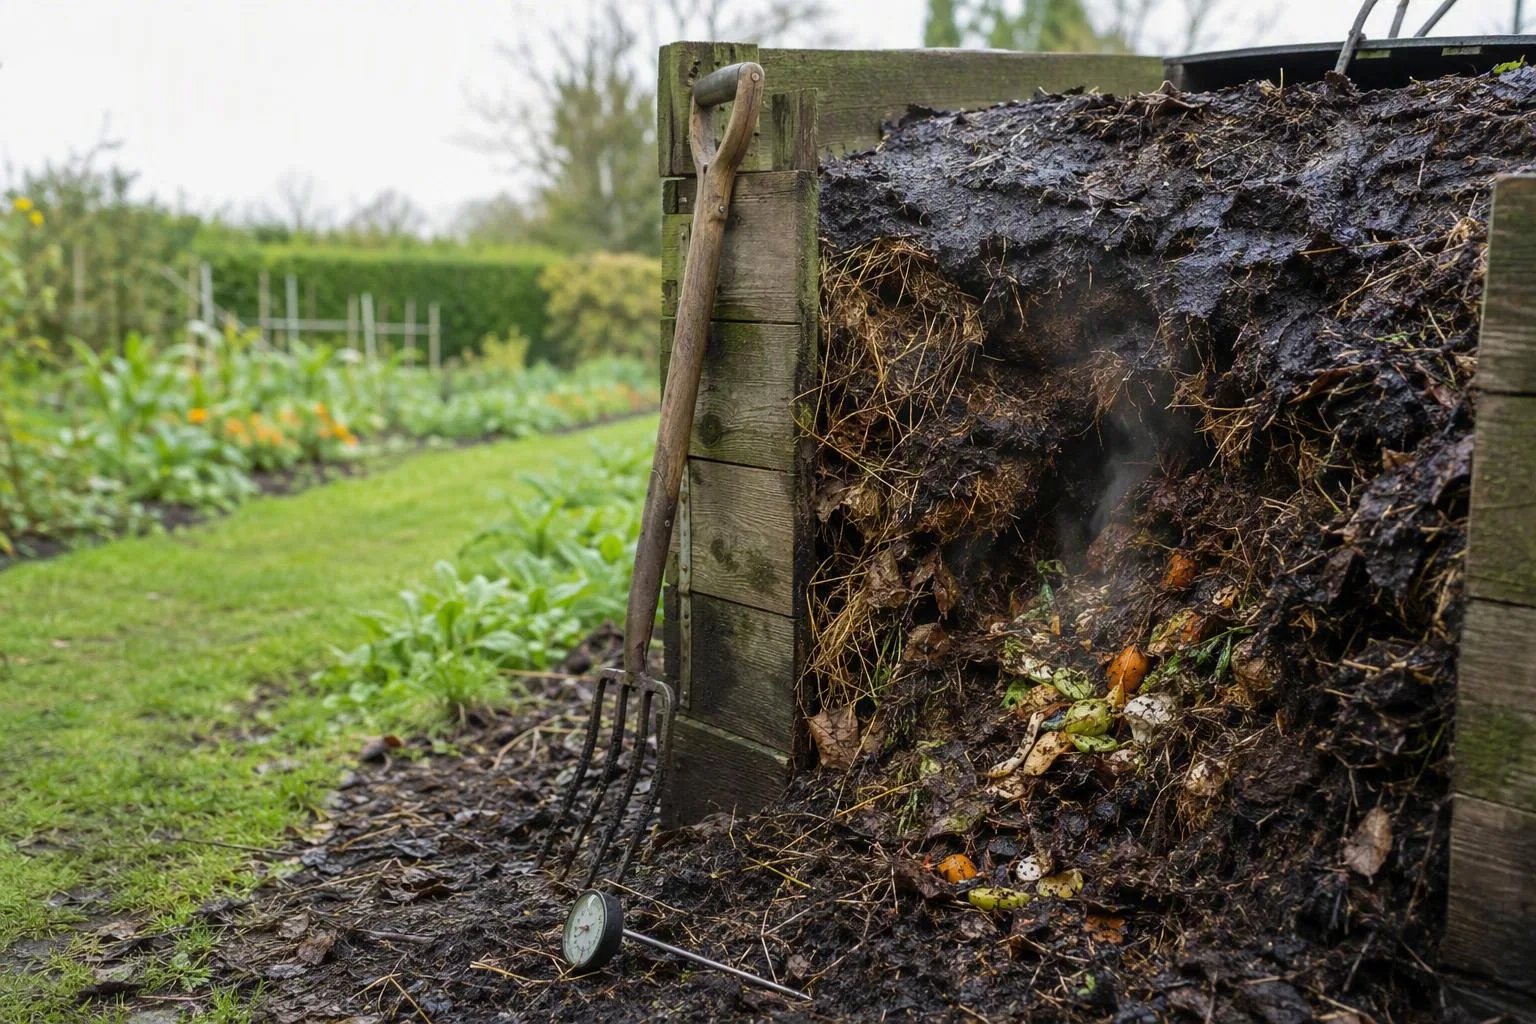
The first diagnosis: a stalled heap is usually too small, too dry, or out of balance
Start by opening the heap rather than judging its surface. Push a compost thermometer into the centre if you have one, then take a handful from several parts of the pile. A cool outer crust tells you little; the centre is where the useful diagnosis happens.
- Check whether the heap is actually stalled. If the material is darkening, shrinking, and losing its original shape, decomposition is continuing even without a dramatic hot phase. A small bin may work this way. If the contents still look exactly as they did when added, inspect moisture, nitrogen, and air next.
- Squeeze the material. It should feel like a wrung-out sponge: damp enough to hold together briefly, not wet enough to release a stream. Dust-dry leaves and crisp stalks need water. A glossy, compacted layer of grass or food scraps needs dry structure and air, not more water.
- Smell the centre. A mild earthy or fermented smell can accompany active decomposition. A sharp ammonia smell points toward nitrogen-rich material packed too densely, while a sour, rotten smell suggests wet, oxygen-poor pockets. Smell is a clue, not a complete diagnosis.
- Look for structure. Matted grass clippings, slimy vegetable scraps, and a solid layer of leaves can exclude air. Recognizable dry stems and whole leaves, on the other hand, suggest that the pile needs more moisture, more nitrogen-rich feedstock, or simply more time.
For a quick rescue decision, use this order: dry and dusty means add water gradually; wet and matted means add coarse carbon and break it apart; loose but unchanged means add nitrogen-rich material; small and cold means stop expecting a hot centre and manage it as a slower batch.
The more reliable priority is physical condition first, recipe second. A mathematically neat mixture packed into a wet block still will not heat, because the microbes cannot exchange gases through it efficiently. That is an editorial judgement, but it follows directly from the way moisture and pore space control access to oxygen.
Build the feedstock mix around carbon, nitrogen, air, and water
Composting is a managed microbial process. The organisms breaking down the heap need a supply of readily available nitrogen to build proteins and reproduce, carbon-rich material for energy and structure, water for their biochemical activity, and oxygen-filled pores between particles. Remove one of those conditions and the other three cannot compensate indefinitely.
“Greens” and “browns” are useful shorthand, but they are not laboratory categories. Fresh grass, young weeds without mature seed, vegetable trimmings, and many fresh plant residues tend to be wetter and more nitrogen-rich. Dry leaves, shredded cardboard, straw, woody stems, and dried stalks tend to provide more carbon and physical structure. Their actual composition changes with age, moisture, plant species, and how finely the material has been chopped.
Begin with a loose mixture rather than counting exact buckets. A practical starting point for a new batch is several forkfuls of dry, coarse material for each comparable amount of wet, nitrogen-rich material, then adjust after the first inspection. Fine materials need more caution because they pack together; coarse stems can preserve air space even when the overall mix is fairly wet.
Manure can supply nitrogen, but its composition varies with the animal, bedding, and storage history. Treat published manure nitrogen values as a starting estimate, not a specification. Fresh poultry manure, heavily bedded horse manure, and weathered manure may behave very differently in a home heap. Add manure in modest amounts, mix it through carbon material, and follow local guidance before using manure-derived compost around edible crops.
Grass clippings deserve particular attention. A thick, fresh layer can collapse into a slick mat within the heap. Spread it thinly, mix it with dry leaves or shredded cardboard, and add coarse stems if the whole batch feels dense. The useful question is not “How many greens should go in?” but “Can a handful of this material keep the heap open after it settles?”
Water the dry ingredients as they are mixed instead of flooding the completed pile. Dry material often repels water at first, so a light sprinkling followed by mixing works better than pouring a large volume onto the surface. If water runs out of the bottom, the addition was too heavy for the current structure.
For a deeper comparison of slow, cool decomposition with a deliberately built hot batch, see Cold Composting vs Hot Composting: Which Method Fits a Small Garden?. The choice is not a moral one. A cool method can suit a gardener who values low labour, while a hot batch makes more sense when timing and uniformity matter.
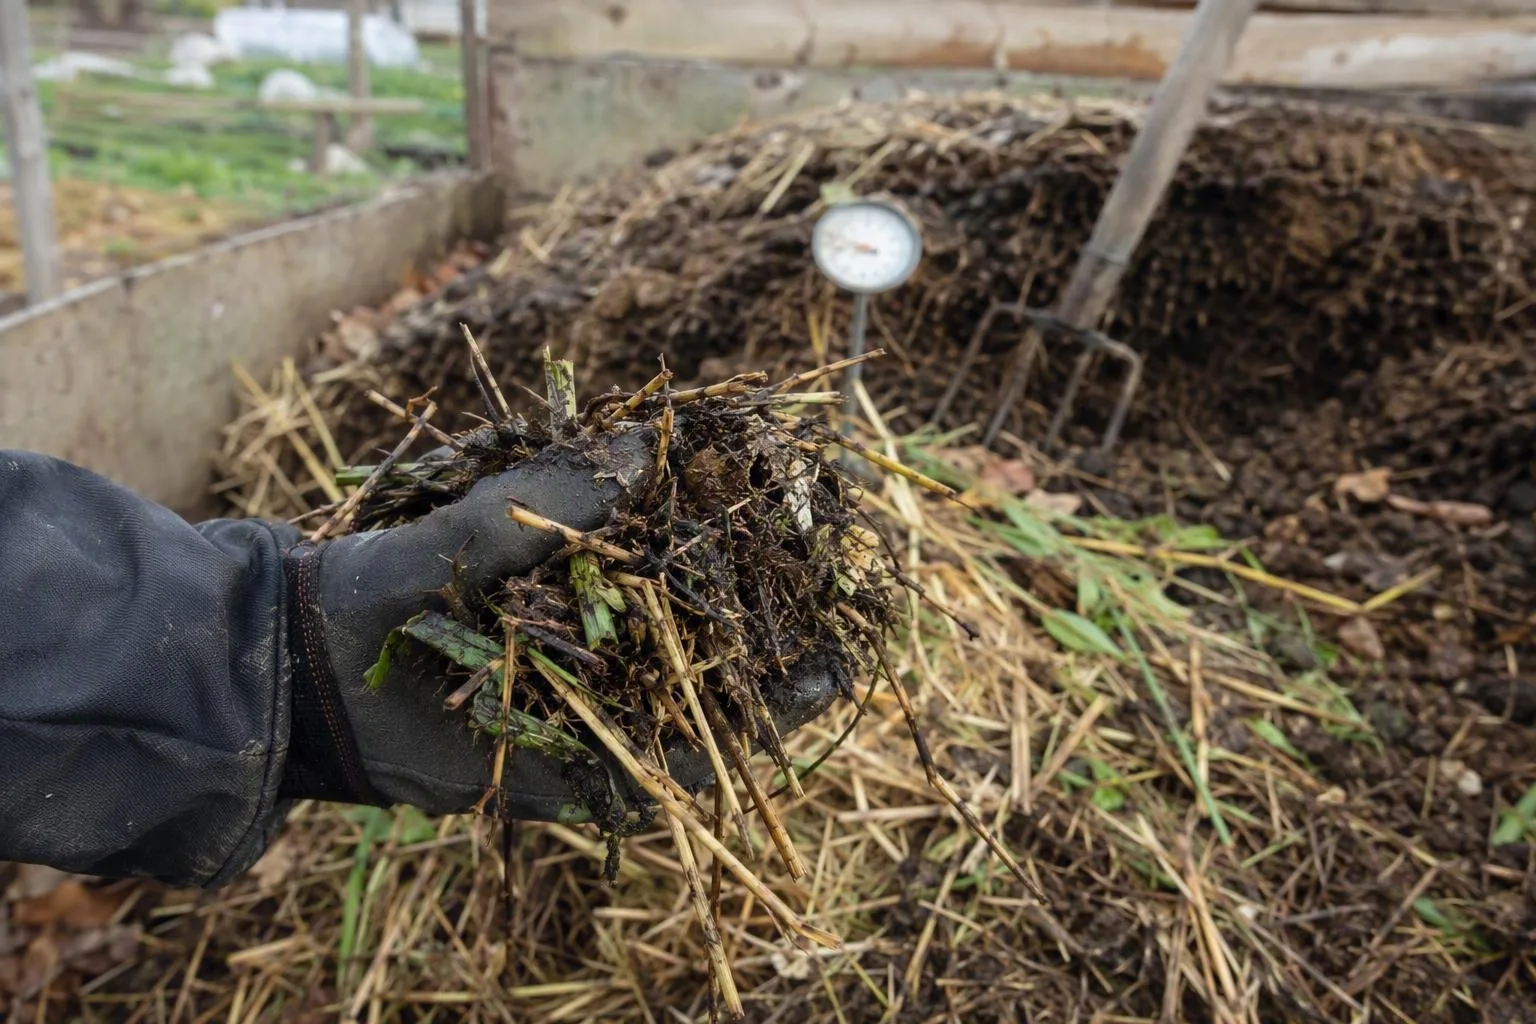
The reset: reassemble the heap instead of sprinkling on a magic ingredient
A stalled heap responds best to a reset that changes several limiting conditions at once. Set aside a tarp, a fork, a watering can, and two kinds of material: dry carbon with visible structure and a moist nitrogen-rich ingredient. Do not begin by adding a purchased starter. Plant residues already carry microorganisms; the more useful question is whether the heap gives them food, water, air, and enough insulated volume to work.
- Empty the heap onto the tarp. Work from the outside toward the centre so you can see whether the problem is a single wet layer or a generally dry mix.
- Pull apart mats by hand or with a fork. Tear apart grass slabs, compacted leaves, and clumps of food scraps. Remove large woody pieces for chopping or return them as a coarse skeleton.
- Blend wet and dry material. For every dense wet forkful, add enough dry, bulky material to keep the mix open when squeezed. Mix rather than layering the ingredients in tidy bands.
- Add water in passes. Sprinkle, turn, and test. Stop when the material is evenly damp and only a small amount of moisture appears between your fingers under firm pressure.
- Rebuild a compact but airy batch. The heap needs enough mass to hold warmth, but packing it down defeats the purpose. Place coarse stalks through the centre and avoid stamping on the rebuilt pile.
- Check the centre after several days. A warmer core, visible shrinkage, and a change in texture show that the reset supplied a missing condition. If the heap remains unchanged, open it again and identify whether it is still too dry, too wet, too small, or short of fresh nitrogen-rich material.
Do not turn on a schedule simply because the calendar says it is time. Turning helps when the centre is wet and airless, when fresh material is concentrated in one layer, or when the outer material has not joined the active core. It can be counterproductive when the pile is already small, cold, and dry, because each complete turn exposes warm material and increases the surface from which moisture can escape.
A reasonable expectation after a successful reset is a noticeable change over several days, not an instant steaming cloud. Temperature depends on the ingredients, pile size, ambient weather, moisture, and thermometer position. The centre may warm while the edges remain cool. If the pile heats and then cools after the readily decomposable material is consumed, that is a normal phase change rather than proof that the batch has failed.
Repeatedly adding scraps to the same heap creates another complication. Each new pocket has its own moisture and oxygen conditions, so the batch may never pass through one uniform hot phase. For a more even result, build a batch, let it process, and start later additions in a separate section or container.
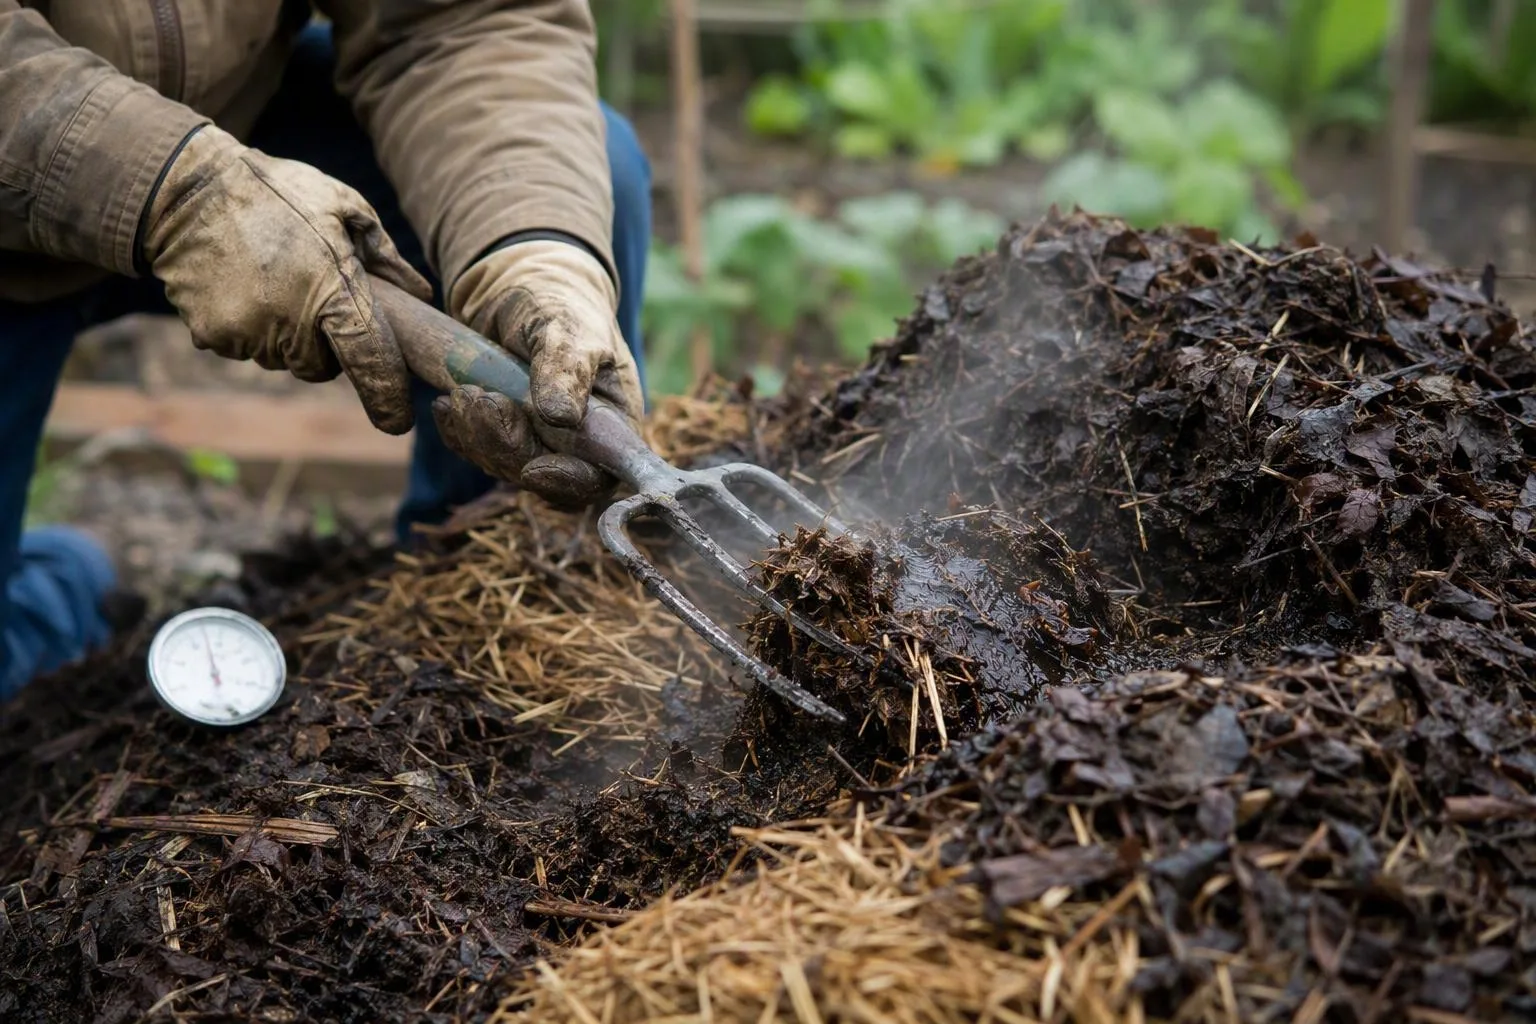
When the season is the problem, manage expectations rather than overcorrecting
Heat is a useful sign of intense microbial activity, but it is not the definition of successful composting. A small household bin has a high surface area compared with its volume, so it loses warmth readily. In a cold climate, the same bin may continue decomposing slowly while remaining close to the surrounding air temperature.
That is especially relevant in zones 4–9, where winter changes the process from active management to storage and slow breakdown. Frozen material may thaw at the surface and refreeze at night. A covered, well-drained location protects the heap from saturation, while a layer of dry leaves or straw around the sides can reduce heat loss. Insulation cannot create heat; it only helps retain heat generated by the contents.
Scale also changes the decision. A large batch made at roughly the same time has a better chance of developing a warm core than a small bin fed with a handful of scraps every few days. If the available material is limited, accept a cool process or collect ingredients until there is enough volume for a distinct batch. Chasing high temperatures in a container that cannot retain them leads to unnecessary turning and too much nitrogen.
Winter is not the right time to compensate for a cold heap with repeated doses of manure or kitchen scraps. The added material can remain wet and oxygen-poor until warmer conditions return. Keep the batch covered, preserve air space, and reassess when the contents are no longer frozen.
For a small garden, this is the practical trade-off: hot composting offers faster processing and a more even texture, while cool composting asks for less active mixing but more patience. Neither method removes the need to inspect moisture and structure.
After the heat: know whether the compost is finished, usable, or still risky
Once the pile cools, do not assume it is finished. Cooling can mean that the readily decomposable food has been used, or that the batch has run short of water, air, nitrogen, or volume. Turn a sample and watch what happens. If it reheats strongly after fresh air reaches the centre, active decomposition remains. If it stays cool while the material becomes dark, crumbly, and difficult to identify, curing is the more likely next step.
Recognizable leaves do not automatically make compost unusable, but they show that the material is still coarse and incompletely processed. It can be returned to the heap, screened for a rough mulch, or left to cure before being mixed through a planting bed. Strong ammonia smell is a reason to rebalance with dry carbon and air, not a reason to spread the material around crops.
Weed seeds and plant pathogens deserve separate caution. A hot heap may reduce some viable seeds and disease organisms when all parts of the batch actually reach suitable conditions, but household composting is not a guaranteed sterilization process. Avoid adding diseased plant material or mature weeds if the batch will later be used around valuable crops, and follow local food-garden guidance for compost made with manure or potentially contaminated material. Wash produce before eating it, and do not treat homemade compost as a substitute for a regulated sanitation process.
Use the finished-material decision below:
- Leave it to cure if it is darkening but still contains several recognizable ingredients, warms after turning, or has a strong smell.
- Use it as a coarse mulch if it is stable, mostly earthy-smelling, and free of obvious fresh clumps, but has not reached a fine texture. Keep it away from direct contact with tender stems.
- Rebuild the batch if it is wet and sour, sharply ammoniacal, bone-dry, or made mostly of one compact ingredient.
- Use it in a bed only when the material is stable and no longer reheats or smells strongly after mixing. If the amount is limited, apply it as a surface layer rather than burying a large quantity in the root zone.
The next decision is not “What activator should be bought?” It is “Which condition is missing right now?” If the answer is air, open the heap. If it is water, moisten the dry centre. If it is nitrogen, add a modest amount of fresh material and mix it through carbon. If the batch is simply too small or too cold, stop forcing a hot process and give the slower biology time.
Keep that diagnosis beside the bin. A stalled heap is rarely a mysterious failure; it is usually a readable mismatch between food, moisture, air, and retained warmth.
Frequently Asked Questions
Why does my compost pile smell like ammonia?
Explain that a strong ammonia smell usually points to excess nitrogen, especially dense wet grass or manure, and suggest mixing in dry carbon-rich material while restoring air space rather than simply adding more water.
Can a compost pile heat up again after it cools down?
Yes, if substantial fresh material, moisture, oxygen, and adequate pile volume remain; distinguish a normal temperature drop after the first flush from a heap that has exhausted its readily decomposable food.
Do I need a compost activator or starter to make a heap heat?
State that a starter is usually unnecessary because plant residues carry microorganisms; diagnose missing nitrogen, moisture, oxygen, or mass before buying an additive.